
Wipe the surface with a damp cloth to prep a leather football to remove any dirt or debris. Then, apply a small amount of leather conditioner and gently rub it in with a clean cloth.
Factors to Consider When Buying a Leather Football
When it comes to buying a leather football, there are several factors that you should consider to ensure you are making the right choice.
From the material and quality of the football to its size and weight, as well as the grip and feel it offers, each factor plays a crucial role in its overall performance and durability.
In this section, we will discuss these factors in detail to help you make an informed decision while purchasing a leather football.
Material and Quality
The material and quality of a leather football are vital aspects to consider. Leather footballs are typically made from either genuine leather or synthetic leather.
Genuine leather is known for its durability, superior grip, and traditional feel. On the other hand, synthetic leather offers excellent water resistance and longevity.
Choosing a football made from high-quality materials is important, ensuring that it will withstand the test of time and provide an optimal playing experience.
Size and Weight
The size and weight of a football can greatly impact your playing experience. Leather footballs are available in different sizes, typically from size 5 to size 3.
Size 5 footballs are the standard size used in professional matches, while size 4 and size 3 are more suitable for younger players. It’s crucial to choose a football that is appropriate for your age and skill level.
Additionally, the weight of the football can affect the accuracy and distance of your throws and kicks. Ensure that the weight of the football feels comfortable and manageable for you to handle during gameplay.
Before we delve into prepping your leather football for the game, it’s crucial to understand how to clean a leather football effectively to ensure it maintains its grip and longevity.
Grip and Feel
The grip and feel of a leather football are essential for a player’s ability to control and handle the ball effectively. Look for footballs with a textured surface, enhancing the grip and giving you better control over the ball.
Additionally, consider the feel of the football in your hands. Some players prefer a softer feel, while others prefer a firmer and more structured touch.
Ultimately, the grip and feel of the football should complement your playing style and provide optimal performance on the field.
Cleaning and Conditioning the Leather
Cleaning and conditioning leather is an essential step in prepping a leather football. Proper care removes dirt and debris and ensures that the leather stays soft and flexible, providing optimal performance on the field.
In this section, we’ll walk you through cleaning and conditioning the leather.
Removing Dirt and Debris
First, before you can condition the leather, you need to remove any dirt, dust, or debris that may have accumulated on the surface.
This will not only improve the appearance of the football but also prevent these particles from causing unnecessary wear and tear.
Here’s how you can effectively remove dirt and debris from your leather football:
- Gently wipe the surface of the football with a soft, dry cloth to remove any loose dirt or dust.
- For more stubborn dirt and stains, dampen a clean cloth with warm water and a mild soap formulated for leather care.
- Gently rub the stained areas in a circular motion, being careful not to scrub too hard or use harsh chemicals that could damage the leather.
- Once the dirt and stains have been lifted, use a clean, damp cloth to remove any soapy residue.
- Finally, pat dry the leather with a soft towel or allow it to air dry naturally.
Conditioning the Leather for Softness and Flexibility
Now that the leather football is free from dirt and debris, it’s time to condition it to maintain its softness and flexibility. Conditioning not only helps prevent cracking and drying of the leather but also ensures that it remains in top-notch condition.
Follow these steps to condition your leather football properly:
- Choose a high-quality leather conditioner suitable for sports equipment.
- Apply a small amount of conditioner onto a clean, soft cloth.
- Gently massage the conditioner into the leather in circular motions, paying extra attention to areas that dry out quickly, such as the seams and corners.
- Allow the conditioner to absorb into the leather, which will help restore its natural oils and keep it supple.
- Wipe any excess conditioner with a dry cloth, ensuring no residue remains on the surface.
- Let the leather football sit undisturbed for a few hours, allowing the conditioning treatment to penetrate the leather fully.
Regularly clean and condition your leather football to extend lifespan and maintain optimal performance.
By following these simple steps and using the right products, you can ensure that your leather football stays in great shape, ready for every game.
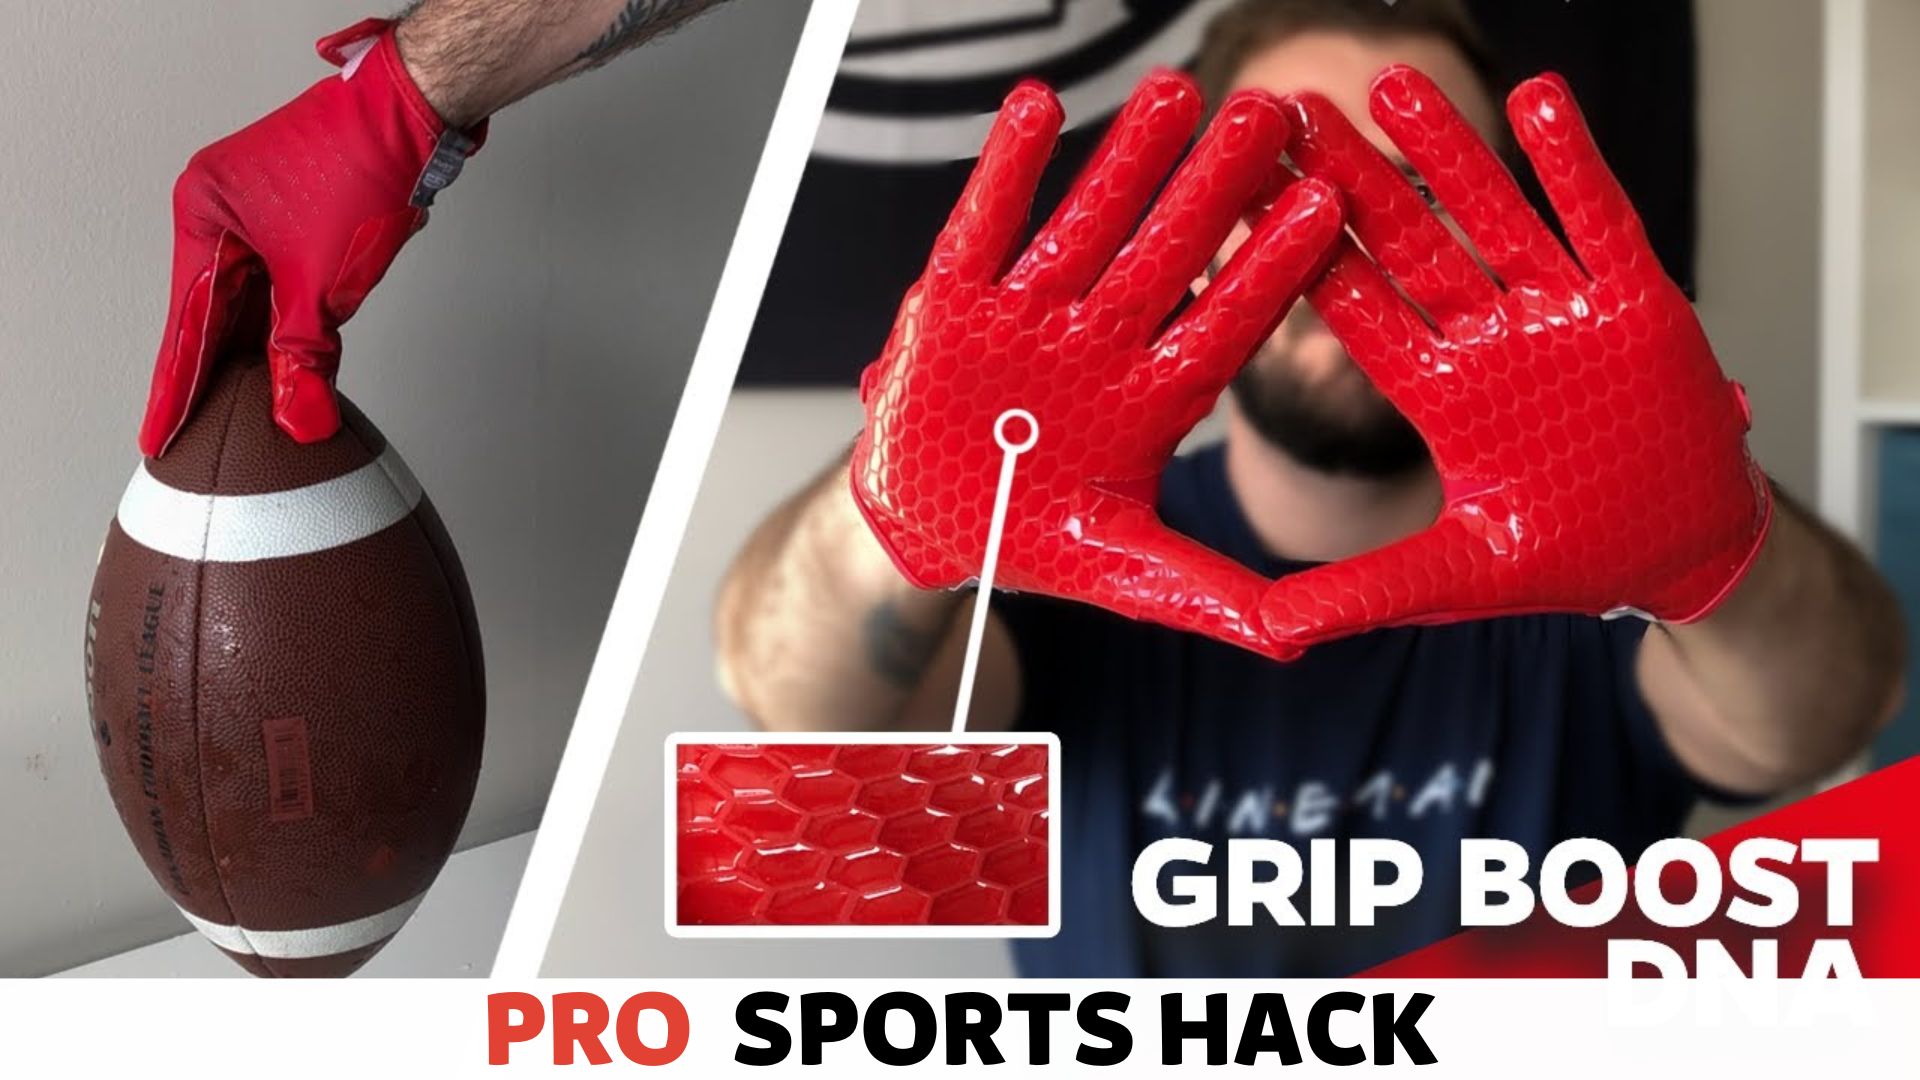
Applying Grip Enhancers to Improve Traction
When playing with a leather football, having a good grip is essential. You might struggle to make perfect catches or throw accurate passes without proper traction.
That’s why applying grip enhancers to your leather football can significantly impact your game.
In this article, we will explore two popular grip enhancers: football wax and stickum spray.
While we’re discussing football preparation, an interesting question often comes up: Can baseball shoes be used for soccer? It’s important to address this as proper footwear is key to performance on the field.
Using Football Wax
Football wax is a popular choice among players to improve grip on a leather football. Made from a combination of paraffin wax and other additives, football wax helps to create a tacky surface on the football, enhancing your ability to control it during the game.
To apply football wax to your leather football, follow these simple steps:
- Clean the football: Start by wiping the football with a damp cloth to remove any dirt or debris from its surface.
- Apply wax: Take a small amount of football wax and rub it evenly across the surface of the football. Make sure to cover the entire area, including the laces.
- Let it dry: Allow the wax to air dry for a few minutes until it becomes slightly tacky.
- Buff the football: Take a clean, dry cloth and gently buff the football to remove any excess wax and create an even surface.
By using football wax, you can improve the grip on your leather football and enhance your performance on the field.
Applying Stickum Spray
If you prefer a stronger grip enhancement, stickum spray is another option. Stickum is a sticky adhesive spray that can give you a reliable and long-lasting grip on a leather football.
However, it’s important to note that stickum spray is not allowed in official football games, as it can leave residue on the ball and potentially affect the gameplay.
Here are the steps to apply stickum spray to your leather football:
- Clean the football: Like with football wax, clean the football with a damp cloth to remove any surface dirt or debris.
- Apply stickum spray: Hold the stickum spray can approximately 6-8 inches away from the football and spray a light coat evenly over the surface. Be careful not to overspray.
- Let it dry: Allow the stickum spray to dry completely before handling the football.
Stickum spray can give you an enhanced grip on your leather football, making it easier to catch and control during practice sessions. However, remember to comply with your league or game rules to avoid penalties or restrictions.
In conclusion, applying grip enhancers such as football wax or stickum spray can significantly improve the traction of your leather football, enhancing your ability to catch and control it during games or practice sessions.
Whether you prefer the tackiness of football wax or the stickiness of stickum spray, choosing the right grip enhancer can give you that extra edge on the field.
Inflating the Football to the Correct Pressure
Properly inflating a leather football is crucial to ensure optimal performance and longevity of the ball. In this section, we will guide you through inflating the football to the correct pressure.
By following these steps, you can ensure that your football is ready for the game and can deliver consistent and accurate passes and throws. Let’s dive in!
Checking and Adjusting the Air Pressure
Before inflating the football, checking the current air pressure is essential. This will help you determine if the ball needs more or less air to reach the proper pressure.
You can use a pressure gauge, which can be found at most sporting goods stores, to measure the pressure. Here’s how you can check and adjust the air pressure:
- Attach the needle to the air pump hose.
- Insert the needle into the inflation valve of the football.
- Press the needle into the valve to release a small amount of air.
- Check the pressure gauge to see the current air pressure.
- If the pressure is too low, continue inflating the ball. If the pressure is too high, carefully let out some air by pressing the needle against the valve.
Ensuring Proper Inflation
Once you have determined the current air pressure and made any necessary adjustments, it’s time to ensure proper football inflation. Here are some key points to keep in mind:
- Refer to the manufacturer’s guidelines for the recommended air pressure range. This information is usually printed on the ball or in the instruction manual.
- Pump air into the ball in short bursts to avoid over-inflating it.
- Periodically check the air pressure while inflating to ensure you reach the desired pressure range.
- Avoid using excessive force when inflating the ball, which can lead to damage or uneven inflation.
- Once you have reached the desired pressure, quickly remove the needle from the valve to prevent air from escaping.
Following these steps ensures your leather football is properly inflated and ready for play. Properly inflated footballs provide better grip, accuracy, and overall performance on the field.
Now that you have successfully inflated the football to the correct pressure, it’s time to move on to the next step in prepping your leather football for game day.
Stretching and Flexing the Leather
Properly stretching and flexing the leather of a football is crucial to ensure optimal performance on the field. This process helps to break in the leather, making it softer, more pliable, and easier to grip.
Following the steps below, you can prepare your leather football for maximum playability.
Performing Basic Ball Handling Drills
Before you start stretching and flexing the leather, it’s essential to perform basic ball-handling drills. These drills help warm the leather and prepare it for the stretching process. Here’s how you can do it:
- Hold the football using all five fingers. Make sure your grip is firm but not too tight.
- Rotate the football from hand to hand, paying attention to how the leather feels against your skin.
- Practice different ball-handling techniques, such as catching, throwing, and tossing the football.
- Perform these drills for a few minutes to loosen up the leather and prepare it for stretching.
Rolling and Bending the Football
After completing the ball handling drills, it’s time to move on to stretching and flexing the leather. Rolling and bending the football will help to shape the leather and make it more flexible.
Follow these steps to roll and bend the football properly:
- Start by placing the football on a flat and smooth surface, such as a table or the ground.
- Using both hands, gently press the football’s top and slowly roll it back and forth.
- Rolling the football for a few minutes, covering the entire surface area.
- Next, hold the football with both hands and bend it from one end to the other, applying light pressure.
- Repeat this bending motion several times, gradually increasing the pressure with each repetition.
You’re conditioning and stretching the leather by rolling and bending the football, promoting flexibility and enhancing the grip. Remember, this process takes time, so be patient and repeat it regularly to attain the desired results.
Once your leather football is cleaned, the next step in its preparation is learning how to make a football softer which can enhance your grip and control during play.
Wetting and Drying the Football
Welcome to the next step in prepping your leather football – wetting and drying! This crucial process helps to soften the leather and ensure the ball is game-ready.
In this section, we will guide you on how to wet the leather to soften it and allow the football to air dry properly. So, let’s dive in and get your leather football ready for action!
Wetting the Leather to Soften it
First and foremost, you’ll need to wet the leather to soften it up before beginning the drying process. Here’s the step-by-step process:
- Fill a clean bucket or basin with lukewarm water. Avoid hot water, as it may damage the leather.
- Submerge the leather football in the water, ensuring it is wet. Gently swirl the ball around to ensure all areas are soaked evenly.
- Leave the football in the water for about 10 to 15 minutes. This time allows the water to penetrate the leather and soften it effectively.
- After the designated time, carefully remove the football from the water and gently pat it dry using a clean, absorbent towel. It’s essential not to rub vigorously as it may damage the leather.
This wetting process helps to loosen the leather fibers, making it more pliable and easier to work with during the prepping process.
Allowing the Football to Air Dry
Now that you’ve wetted the leather, it’s time to let the football air dry thoroughly. Follow these steps to ensure proper drying:
- Find a well-ventilated area, preferably outdoors or near an open window, to place the leather football for drying. Ensure it’s away from direct sunlight or any direct heat sources, as these can cause the leather to become brittle or crack.
- Position the football on a clean, dry surface, such as a towel or a wire rack, to allow proper air circulation around the ball.
- Leave the football to dry naturally for at least 24 to 48 hours or until it feels completely dry to the touch. Avoid rushing this process by using fans or heaters, as it may cause the leather to dry too quickly and lose its natural elasticity.
By following these steps, you’re allowing the leather football to air dry slowly and consistently. This ensures that it retains its shape, flexibility, and overall durability for optimal performance during gameplay.
Once the football is completely dry, it’s ready for the next step in the prepping process – conditioning.
Using the Football in Practice and Games
Once your leather football is prepped and ready to go, it’s time to get out on the field and use it in practice and games.
In this section, we will discuss the importance of regularly using the football for throwing and catching and how to avoid excessive force or rough surfaces that could damage the leather.
Regularly Using the Football for Throwing and Catching
To ensure that your leather football remains in top condition, it’s important to use it for throwing and catching regularly. This not only helps to break in the leather and keep it supple, but it also allows you to improve your skills as a player.
When using the football for throwing, focus on targeting and accuracy. Practice throwing the ball in different directions and distances to improve your aim. Start with short, easy throws and gradually increase the difficulty as you become more comfortable.
Catching the football is just as important as throwing it. Work on hand-eye coordination by practicing different catching techniques like the fingertip and cradle catch.
Pay attention to the position of your hands and fingers to ensure a secure grip on the ball.
Avoiding Excessive Force or Rough Surfaces
While using the football in practice and games, avoiding applying excessive force or exposing the leather to rough surfaces is crucial. Excessive force can cause the seams to come undone or even lead to a puncture in the leather, rendering the football unusable.
When throwing the football, be mindful of the force you exert.
Avoid forcefully throwing the ball against hard surfaces, such as concrete or walls, as this can cause damage to the leather. Instead, aim for softer surfaces like grass or artificial turf.
Additionally, be cautious of rough surfaces that may cause abrasions or scratches on the leather. Avoid using the football on rough or jagged terrain, leading to premature wear and tear.
If you notice any signs of damage, such as scuffs or cuts on the leather, address them promptly to prevent further deterioration.
By regularly using the football for throwing and catching, and taking precautions to avoid excessive force or rough surfaces, you can extend the lifespan of your leather football and ensure optimal performance on the field.
Frequently Asked Questions
How Do You Break in a Leather Football At Home?
To break in a leather football at home, follow these steps: First, apply a leather conditioner to soften the material. Then, use your hands to flex and stretch the football, focusing on stiff areas. Next, inflate the ball to the correct pressure and store it in a cool, dry place.
Finally, repeat this process regularly to loosen the leather further.
How Do You Make Leather Football More Grippy?
To enhance the grip of a leather football, you can use a specialized grip spray or apply a small amount of tacky substance like pine tar or grip wax on the surface. This helps the ball stick to your hands, providing better control while playing.
Avoid excessive use to prevent damage to the leather.
What Do You Need to Prep a Football?
You’ll need a pump with a needle attachment to prep a football. Insert the needle into the ball’s valve and inflate it to the manufacturer’s recommended pressure. Check the pressure using a gauge and adjust if necessary. Make sure the ball feels firm but not overinflated.
How Do You Break in Leather Football for Kicking?
To break in a leather football for kicking, start by applying a small amount of leather conditioner. Massage it into the ball and let it sit for a few hours. Next, repeatedly kick the ball with gradually increasing force to soften and stretch the leather.
Finally, continue using the ball regularly to maintain its flexibility.
Conclusion
To sum up, prepping a leather football is essential to ensure its longevity and optimal performance on the field. By following the steps outlined in this post, you can effectively clean, condition, and maintain your football for superior grip and durability.
So, whether you’re a professional player or an enthusiastic amateur, caring for your leather football will greatly enhance your playing experience. Practice these tips and enjoy your game to the fullest!