
To bake hockey skates at home, preheat the oven to 175°f, remove the steel blades, and bake for 10 – 15 minutes. Baking hockey skates at home has recently become common among hockey enthusiasts.
It enables the skate to adapt to the shape of your feet, providing a more comfortable and customized fit. While it may seem like an odd way to mold your skate, baking has been a proven process for creating a more tailored fit.
This method helps to reduce breaking in time, improve comfort, and reduce blistering. However, it’s important to understand that baking can ruin your skates if not done correctly.
This article will guide you through a step-by-step process to correctly bake your hockey skates at home.
Preparing for the Baking Process
Before you bake your hockey skates at home, you must ensure you have all the necessary materials and understand the different components of your skates. Here are the key points to keep in mind:
Materials you will need:
- A space to work, preferably a garage or basement that is well-ventilated to prevent the release of harmful fumes during the heating process.
- In an electric oven, for most skates, the best temperature to use is 175-185 Fahrenheit, but check with the brand of your skates before proceeding.
- A baking pan, preheat it in the oven before baking.
- Gloves protect your hands from heat when inserting and removing the skates.
- Toaster oven to remove insoles.
- Understanding the different components of your skate
- Outsole: The outermost layer of the bottom of the skate.
- Insole: The removable padding inside the skate.
- Quarter: The sides of the skate.
- Tongue: The protective padding that covers the top of your foot.
- Heel cup: The part that holds your heel in place.
Now that you have everything you need and know the basic skate components let’s move on to the next section, where we will cover the steps involved in the baking process.
When it comes to maintaining the performance of your hockey skates, it’s not just about baking. You might wonder, “Does Pure Hockey Sharpen Skates?” We’ll cover this topic in our comprehensive skate care guide.
Preparing the Skates for Baking
Baking your hockey skates at home can be a great way to ensure a comfortable and customized fit. However, before baking your skates, you need to prepare them properly. This involves removing the footbeds, inspecting your skates for damage, and preheating the oven.
In this blog post, we’ll focus on the crucial preparatory steps you must take before baking your skates at home.
Removing Footbeds
Firstly, remove the footbeds from your skates. It is essential to remove them before baking, or they may become distorted or damaged in the heating process. Some footbeds may be glued down, so be careful when removing them to avoid ripping the lining.
Inspecting for Damage
Inspect your skates for any signs of damage before baking. Check the eyelets, outsole, and boot for any cracks or visible deformities. If your skates are damaged, they may not be suitable for baking, and you will need to have them repaired before proceeding.
Heating the Oven
Before baking your skates, it is important to heat the oven to the correct temperature. The ideal temperature range for baking skates is 175-200 degrees Fahrenheit, but always follow the manufacturer’s instructions. Ensure the oven has reached the desired temperature before placing your skates in the oven.
Before baking your hockey skates at home, remove the footbeds, inspect your skates for any damage, and preheat the oven. These steps are crucial to achieve the perfect customized fit and avoid damage to your skates.
By following these simple steps, you will be ready to move on to the next stage of baking your skates and enjoy the benefits of having comfortable and personalized hockey skates.
Baking Process: How to Properly Bake Hockey Skates At Home
If you’ve been playing hockey for a while, you may have experienced discomfort or pain in your feet due to poorly-fitted skates. Fortunately, baking your hockey skates can help alleviate these issues. Here are the key points to remember when baking your hockey skates at home.
Preparing the Skates
Before getting started with baking your hockey skates, there are a few key steps you need to take:
- Remove the insoles and laces from your skates to ensure they don’t melt or suffer any damage during the baking process.
- Heat up your oven to the recommended temperature. This is typically around 175 degrees Fahrenheit (80 degrees Celsius).
Baking the Skates
The baking process itself is relatively straightforward. Here’s what you need to do:
- Place your skates on the middle rack of the preheated oven and set a timer for 4-5 minutes.
- Once the timer goes off, remove the skates from the oven and put the insoles (if applicable) back into place.
- Put on your skates and lace them up tightly. Don’t forget to wear your hockey socks to get an accurate fit.
- Sit down with your skates on and remain still for 10-15 minutes while the skates mold to your feet.
Post-Baking Care
After you’ve finished the baking process, there are a few extra steps you can take to help ensure that your skates last as long as possible:
- Use a soft cloth to wipe away any excess moisture from the skates.
- Apply some leather conditioner to the exterior of the skates to help preserve the material.
- Avoid excessive moisture exposure, which can cause the leather to rot or the blades to rust.
By following these guidelines, you can bake your hockey skates at home and get a comfortable, accurate fit without spending money going to a professional.
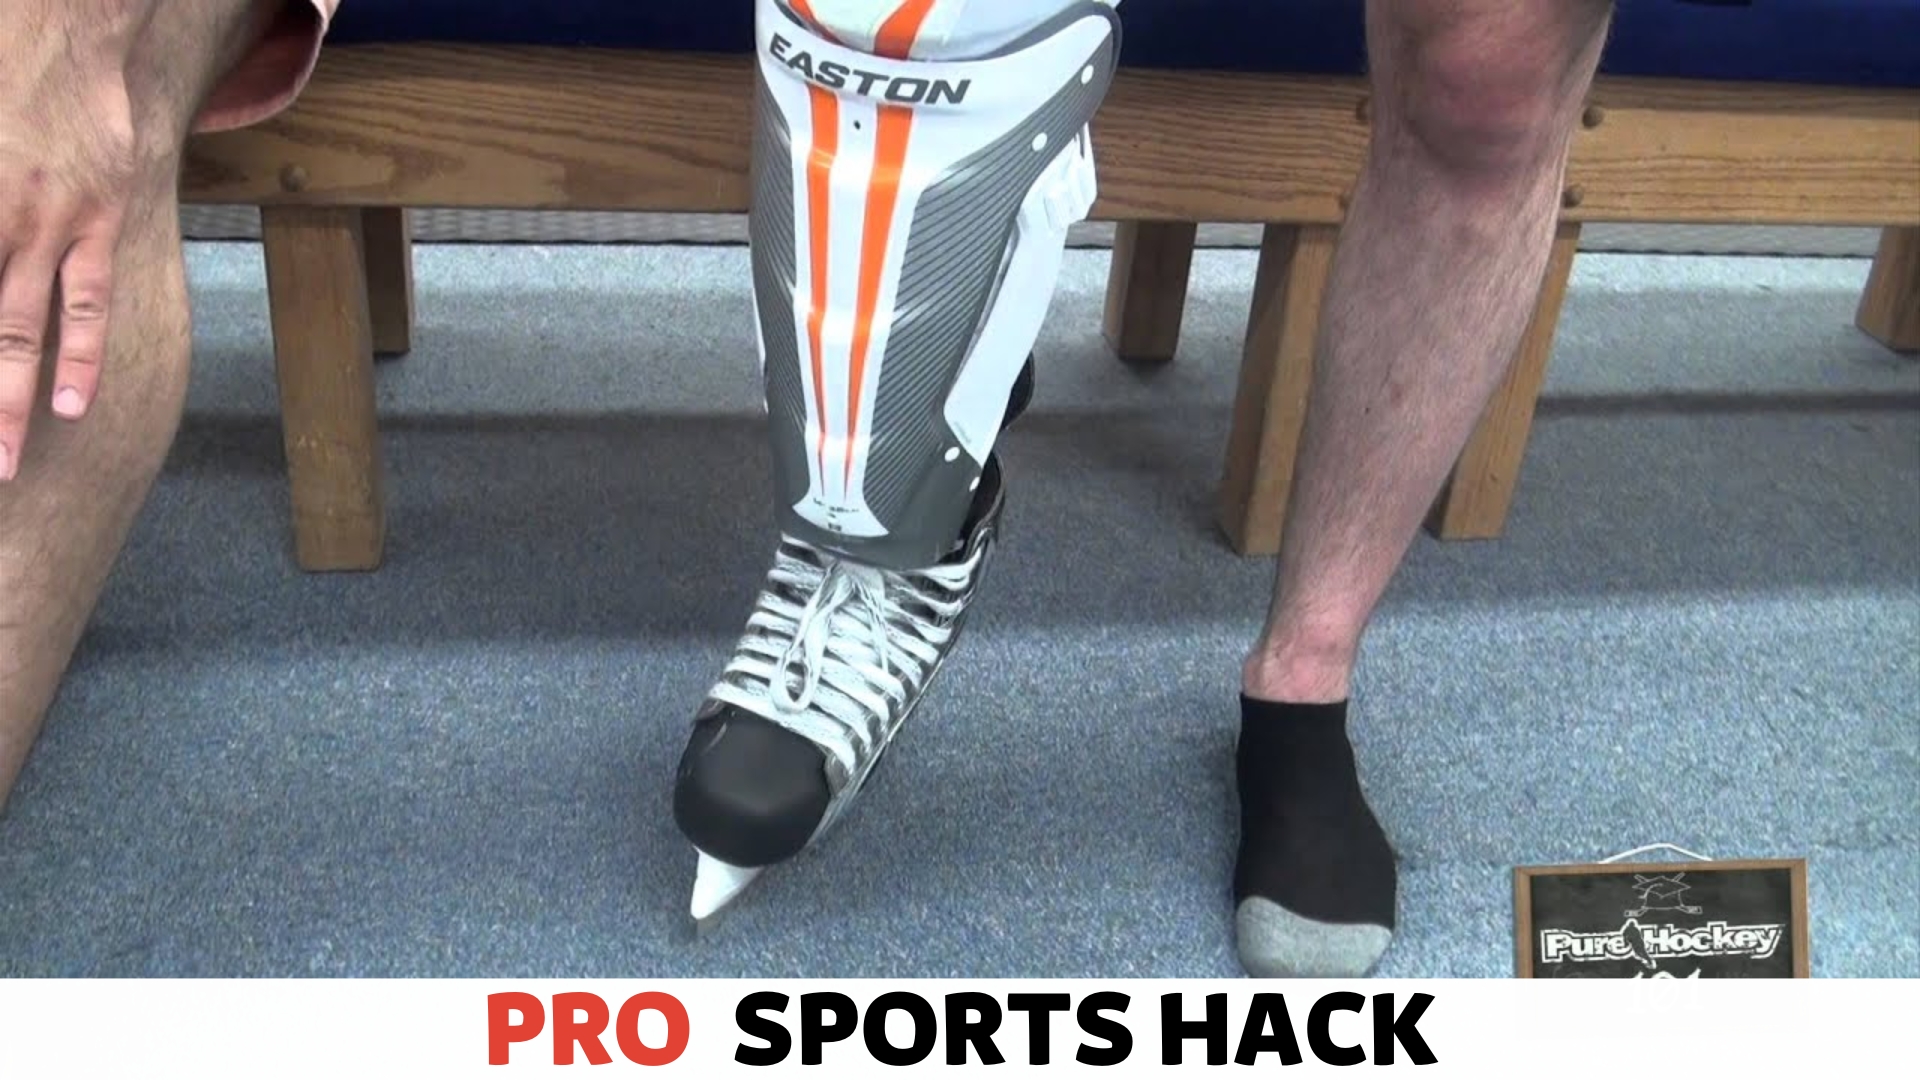
Fitting the Skates: Putting on Warm Skates for a Snug and Comfortable Fit
Every hockey player dreams of having comfortable and snug skates. Properly fitting skates will not only improve your performance but can also prevent injuries. Hence, fitting your skates is crucial. Here are some tips to ensure you have the perfect fit.
Preparing the Skates
- Remove the laces and insoles from the skates.
- Place the skates in an oven preheated to 180 degrees Celsius.
- Warm the skates for 5 minutes only. Beyond this time, the boots may break down and compromise the glue.
- Use oven gloves while removing the skates from the oven.
Fitting the Skates
- Put on your usual hockey socks.
- Insert foam pillows, insoles, or gel pads to create a better fitting around your ankle, heel, and arch.
- Put on the skates while still warm. The warmth makes them more pliable and accommodating to your foot contours.
Testing the Fit
- Tighten the laces firmly but not as tight as possible.
- Stand up and try walking around in the skates.
- Flex your knees and ankles while gently skating to feel the fit.
- Your toes should touch the end of the boots but not cramp. If they do, remove the insoles, and try again.
- Confirm the heel is snugly fitted and that there is no slip or lift, as this may cause blisters.
Fitting your skates correctly takes time and patience, but the results are worth it. With these tips, your skates will feel like a natural extension of your feet, preparing you for the ice.
Cooling and Testing the Skates: Ensuring Comfort and Performance After Baking
Now that you have successfully baked your hockey skates, you want to ensure they feel comfortable and responsive on the ice. Cooling and testing the skates after baking is crucial to achieve optimal performance. Follow these steps to ensure your skates fit like a glove:
Cooling the Skates
- Remove the skates from the oven and immediately clamp them into skate holders (or put them on your feet while wearing them and sit on a flat surface for 8-10 minutes).
- The goal is to keep the shape of the skate as it cools, so pressing down on the boot with your hands may be helpful.
- Let the skates cool down at room temperature for at least 24 hours before skating on them.
Testing the Skates
- Take the time to break in your skates by skating on them for 20-30 minutes before playing a game.
- Adjust the laces and fasteners so they feel secure and snug.
- Make sure the arch of your foot fits comfortably in the boot.
- Check the heel lock and ankle support by bending your knees and leaning forward to ensure your foot stays in place.
- Walk around in your skates to make sure they feel comfortable and supportive.
Remember that baking hockey skates at home is not a guaranteed solution to improve comfort and performance. If you continue to experience discomfort after following these steps, it is best to seek advice from a professional.
Properly fitted skates play a vital role in your overall skating performance; taking care of them will ensure they last longer and serve you well.
While learning how to bake your hockey skates at home is crucial, you might also be curious about the potential for adjustments. We’ll explain if and when it’s possible to make changes by answering the question: “Can You Rebake Hockey Skates?”
Maintenance and Longevity: Caring for Your Baked Hockey Skates and Ensuring Long-Term Performance
Hockey skates are a crucial factor in a player’s performance on the ice, so it’s vital to maintain and care for them properly. After baking your hockey skates at home, there are some essential things to remember to ensure their longevity and long-term performance.
We’ll dive into your baked hockey skates’ maintenance and care guidelines.
Proper Storage Techniques
When maintaining your baked hockey skates, the first thing to remember is proper storage. Storing hockey skates correctly can prolong their lifespan and preserve their performance. Below are some tips for storing your skates efficiently:
- Always store your skates in a dry place. Moisture can cause damage to the blades and rust them.
- Use a skate guard or blade cover to protect the blades while in storage so they don’t get scratched and dull.
- Never leave your skates in your hockey bag for an extended period. It can trap moisture and cause mildew and unpleasant odors.
- If possible, store your skates with the blades facing upward to prevent them from getting dull and damaged.
Consistent Cleaning and Drying
Another essential aspect of skate maintenance is regular cleaning and drying. After every use, remove debris, dirt, or ice from the blades. Below are some tips on how to clean and dry your hockey skates:
- Use a soft cloth or towel to wipe the blades after use.
- Then, let the skates dry naturally at room temperature before putting them away.
- Do not use heat sources or direct sunlight to dry your skates because they can warp and damage the boots.
- Pack newspaper or paper towels inside the skates to soak up any remaining moisture while drying.
Blade Sharpening
One of the most important components of skate maintenance is blade sharpening. A sharp blade maximizes your performance and minimizes injuries.
It’s essential to get your blades sharpened by a professional, preferably once a month. Sharpening your skates yourself is not recommended without proper training and experience.
Avoiding Rough or Uneven Surfaces
Lastly, avoiding skating on rough or uneven surfaces can significantly impact your skate’s lifespan and performance. Rough surfaces can damage the blades, making them dull and ineffective, while uneven surfaces can dent or warp them.
Always skate on a smooth and even surface to prolong your skate’s lifespan.
Proper care and maintenance of your baked hockey skates are crucial for ensuring their longevity and performance. Storage techniques, cleaning and drying, blade sharpening, and avoiding rough surfaces are essential for skate maintenance.
By following these guidelines, you can extend your skate’s lifespan and optimize your performance on the ice.
Frequently Asked Questions
How Do You Bake Hockey Skates At Home?
To bake hockey skates at home, first, preheat the oven to 175°f. Remove the insoles, laces, and steel blades from the skate. Place the skates inside the oven and heat for 15-20 minutes. Once you remove the skates, lace them up and wait for them to cool.
What is the Purpose of Baking Hockey Skates?
Baking hockey skates soften the boot materials and allow them to mold to your feet for a custom fit. It helps to eliminate pressure points, reduces break-in time, and provides added comfort and stability.
How Often Should You Bake Hockey Skates?
You should only bake hockey skates a maximum of two times to prevent material damage. Baking them once when you first purchase them is recommended, and a second time if you’re having issues with fit or comfort.
Can I Bake My Hockey Skates With the Blades On?
No, you should remove the blades from your hockey skates before baking them. The heat from the oven can cause damage to the blades and weaken their structure.
Can I Bake My Hockey Skates in a Regular Oven?
Yes, you can bake your hockey skates in a regular oven. Just ensure the temperature is set to 175°f and the skates are evenly spaced and not touching any oven part.
Conclusion
Finally, you’ve learned the art of baking hockey skates at home! From selecting the perfect oven to preparing the skates and following the baking process, achieving the desired results takes time and effort.
With the guidelines in this post, you can be confident that you are on the right track toward achieving a comfortable fit and better performance on the ice.
Consider the materials, temperatures, and timing for the best results. Baking hockey skates at home is a great way to save time and money and ensure optimal performance.
Don’t be afraid to experiment with different methods and techniques to find the perfect fit for you.
So, get baking and enjoy your new homemade, perfectly fitting hockey skates!