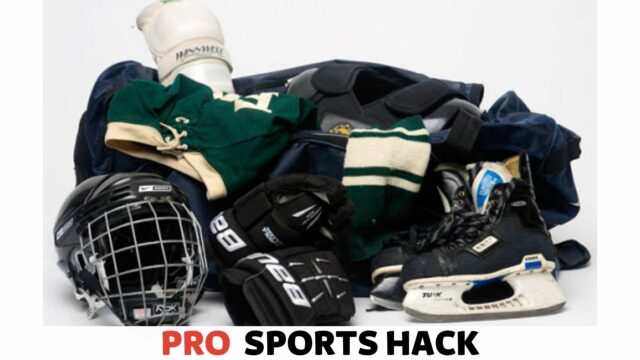
To wash hockey gear in a bathtub, fill the tub with warm water and a mild detergent. Soak the gear for 30 minutes, then gently scrub each piece with a brush.
Rinse thoroughly and hang to dry. Hockey is an intense and physical sport that involves sweat, dirt, and potential odor buildup on gear.
Regular cleaning is essential to maintain the cleanliness and longevity of your hockey gear. While a washing machine may be convenient, not all gear is suitable for machine washing.
If you don’t have access to specialized gear-cleaning products, cleaning your hockey gear in a bathtub can be an effective alternative.
We will guide you on washing hockey gear in a bathtub, ensuring that your gear is fresh, sanitized, and ready for your next game.
Cleaning and Clearing the Bathtub Space
When it comes to washing hockey gear, using the bathtub is a convenient and efficient method.
However, before you start the cleaning process, it’s essential to clean and clear the bathtub space properly.
This step ensures that your bathtub is free from dirt, hair, and any other debris that may affect the cleanliness of your gear.
Remove Items From the Bathtub
The first step in preparing your bathtub for cleaning hockey gear is to remove any items that may hinder the cleaning process.
Clear out all the shampoos, soaps, toys, or other personal items that may be present in the bathtub. Place them outside the bathroom or on a shelf to keep them safe and dry.
Clean the Bathtub Surface
Once you have removed all the items from the bathtub, cleaning the surface is necessary. A clean bathtub enhances the cleaning process and ensures your hockey gear’s overall hygiene.
Here are the steps you can follow to clean the bathtub surface:
- Start by removing any loose dirt or debris using a brush or sponge. Sweep away any hair, dust, or other particles that may have collected in the corners or drain.
- Mix a cleaning solution using mild soap or a tub cleaner. Apply the solution to the bathtub’s surface, including the sides, corners, and drain area.
- Use a scrub brush or sponge to scrub the entire surface of the bathtub. Pay attention to any stained or textured areas that might require extra cleaning.
- Rinse the bathtub thoroughly with warm water to remove any soap residue or cleaning solution. Ensure all the soap suds are completely gone.
- Wipe down the bathtub with a clean, dry cloth or towel to remove any remaining moisture. This step prevents the risk of mold or mildew growth.
Following these steps and cleaning the bathtub surface beforehand creates a clean and sanitized space to wash your hockey gear.
This process not only improves the effectiveness of the cleaning but also helps maintain the overall hygiene and integrity of your equipment.
Sorting Items for Pre-wash
When washing your hockey gear in the bathtub, sorting the items for pre-wash is crucial. Properly organizing your gear will make washing easier and ensure that each item receives the right treatment.
In this section, we will discuss how to sort your hockey gear for a thorough pre-wash, focusing on two key aspects: separating protective gear from clothing and unfastening straps and buckles.
Separate Protective Gear from Clothing
Before starting the pre-wash, separating your protective gear from your clothing is important. This step is essential to prevent any damage or tangling between different types of gear.
Separating protective gear from clothing lets you focus on cleaning each item’s unique requirements.
To effectively separate your gear, follow these steps:
- Lay out all your hockey gear on a clean surface.
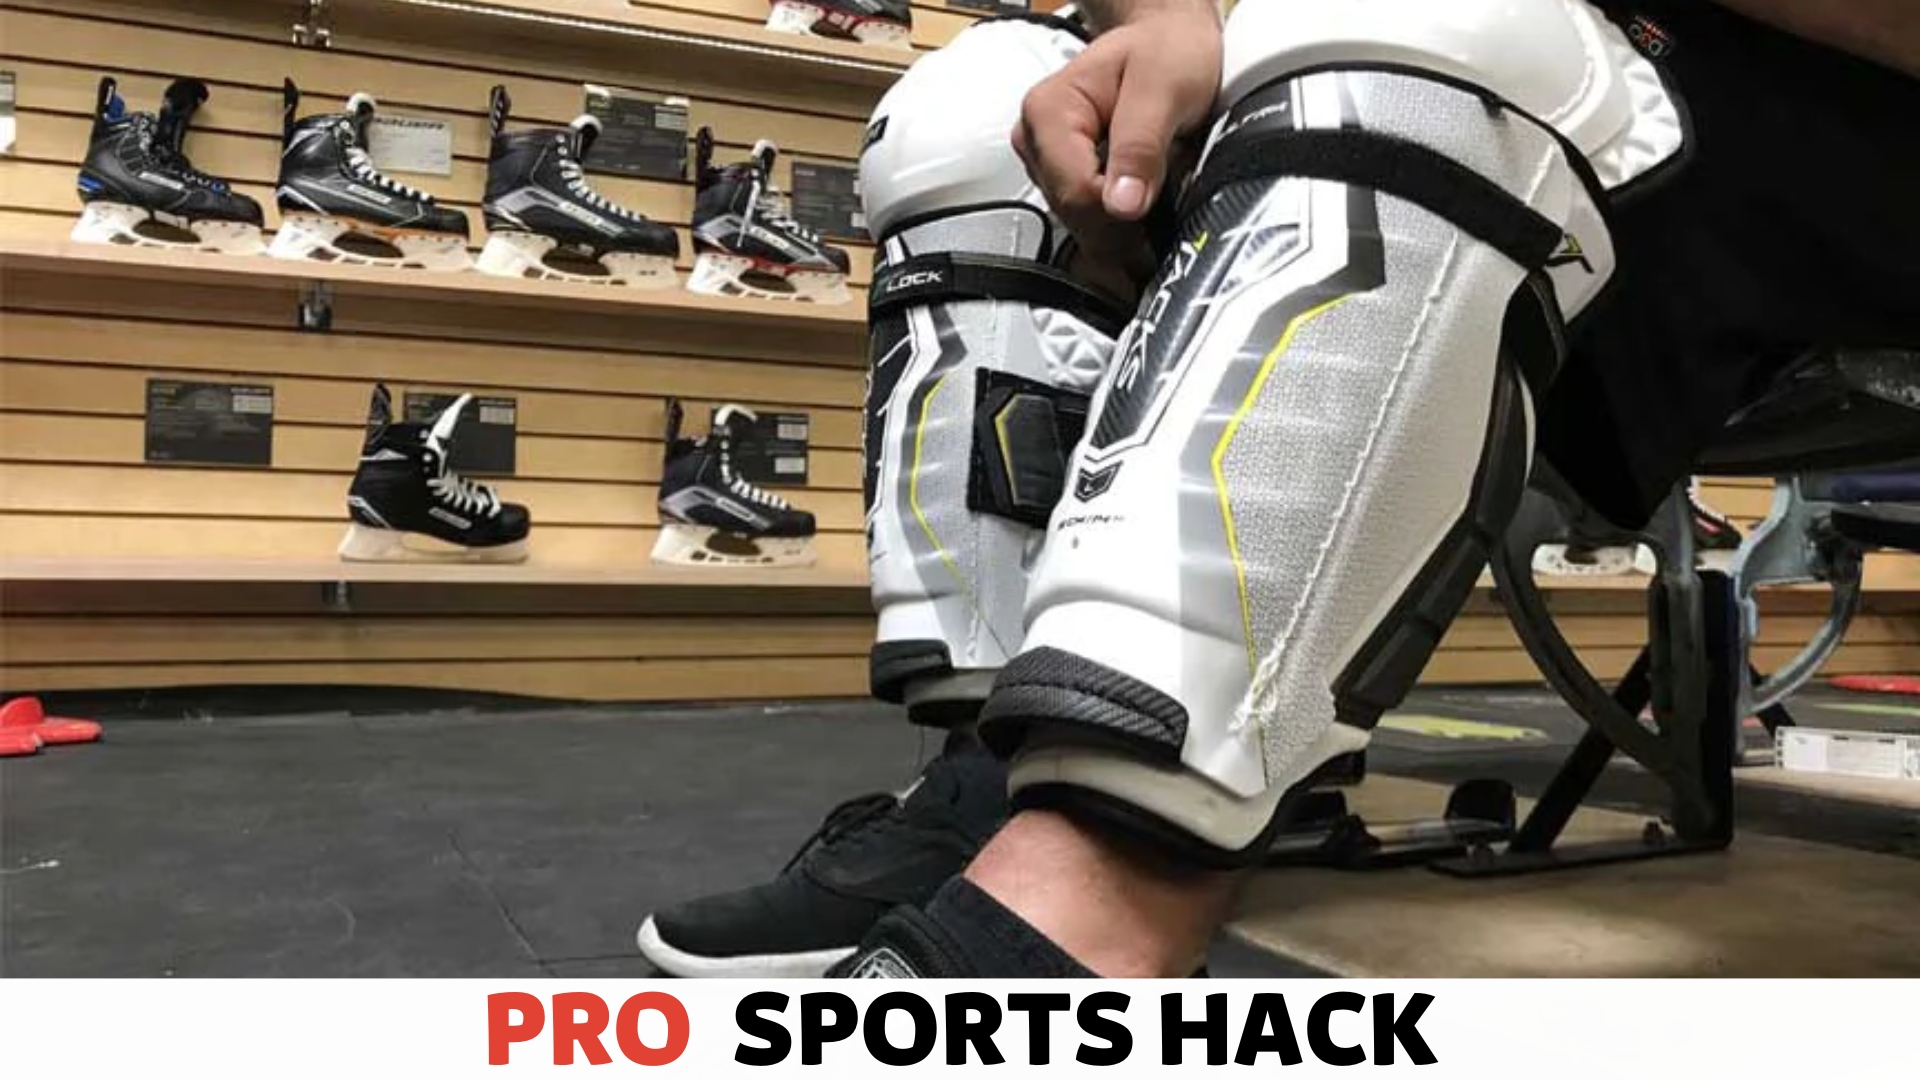
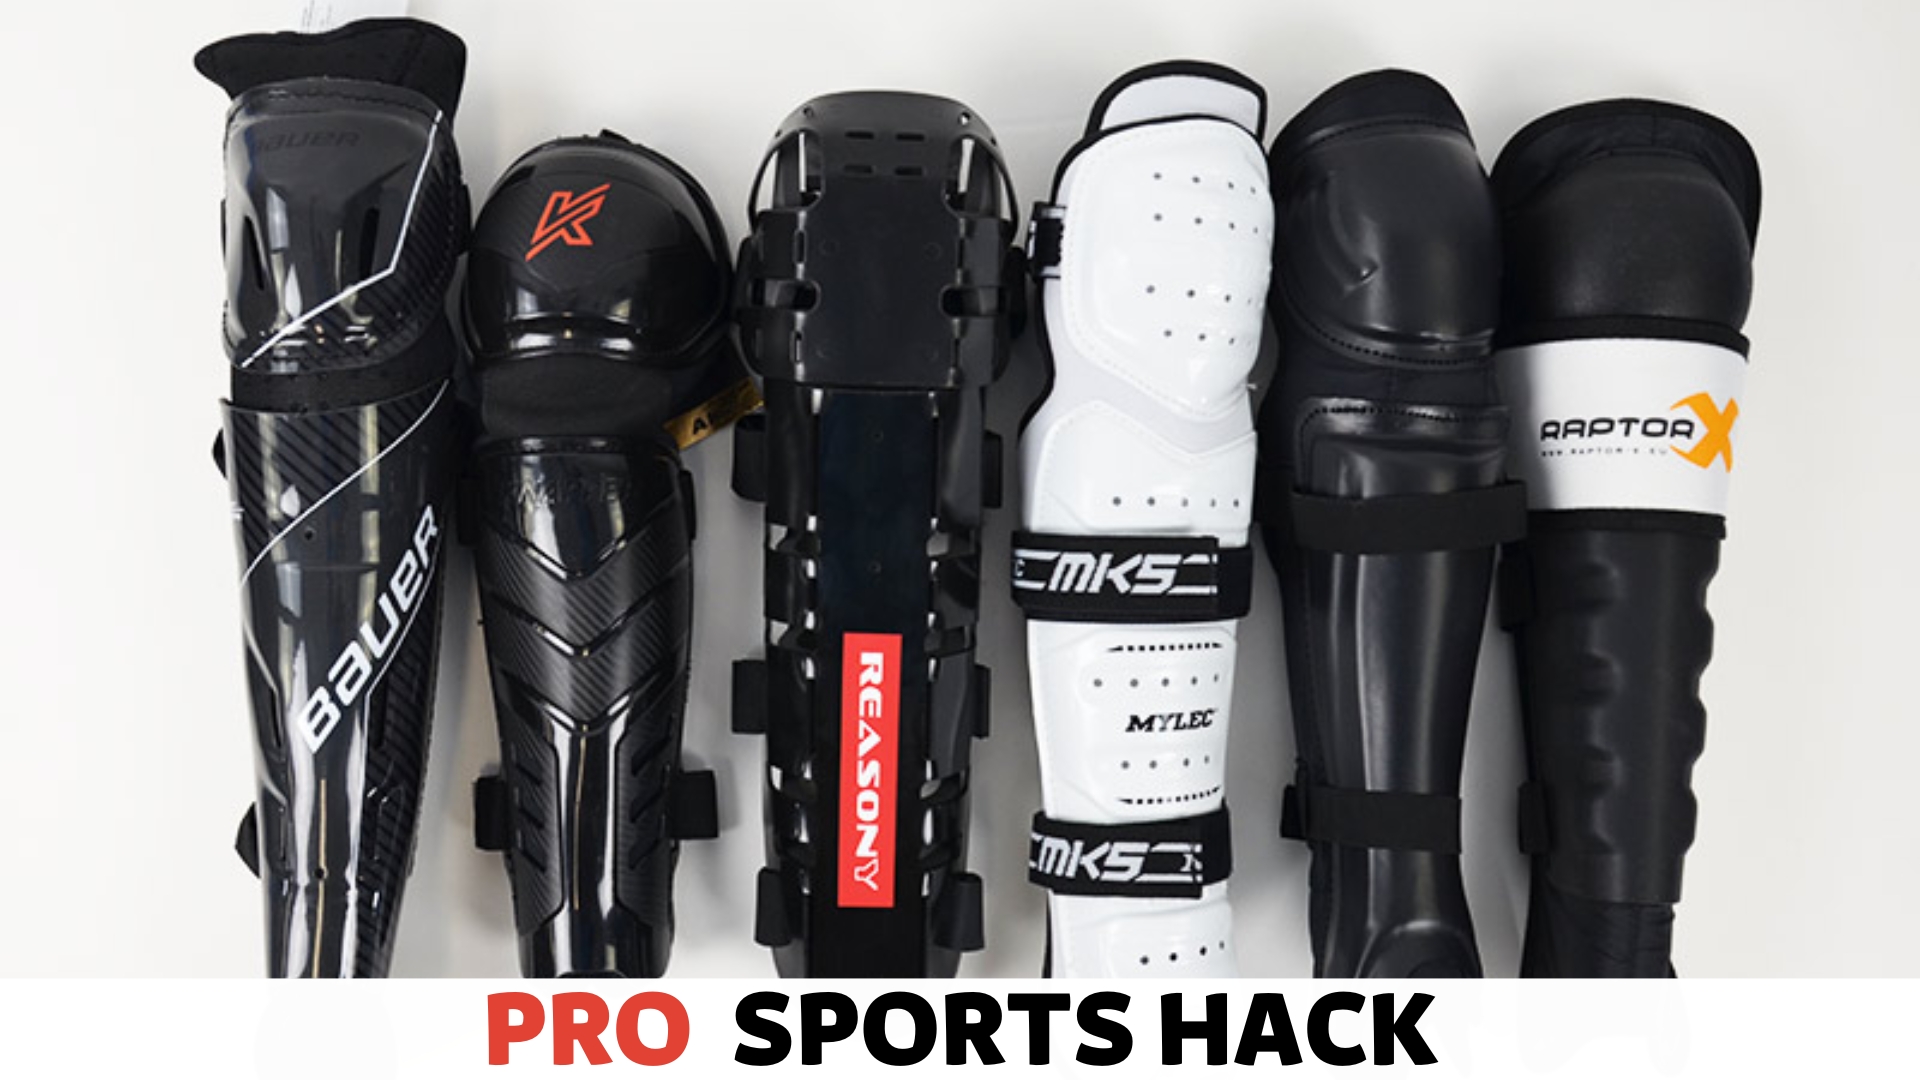
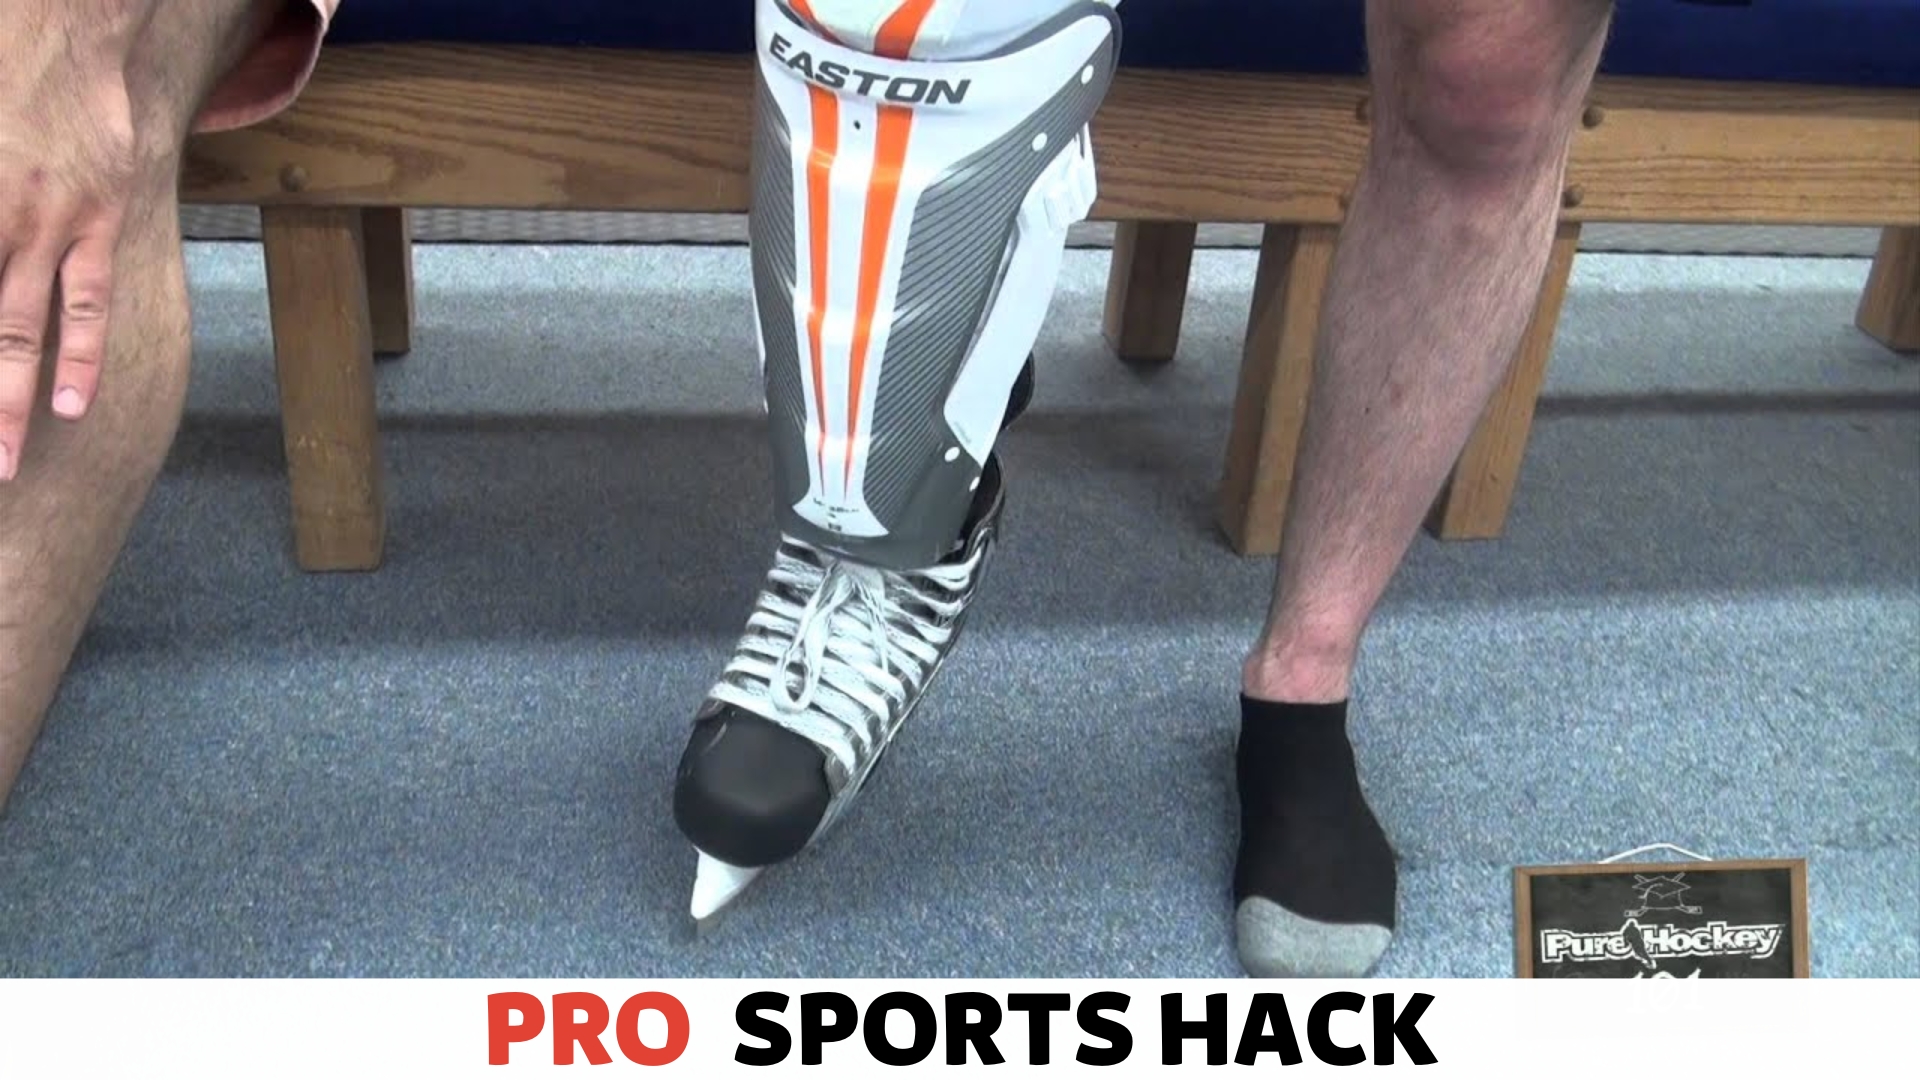
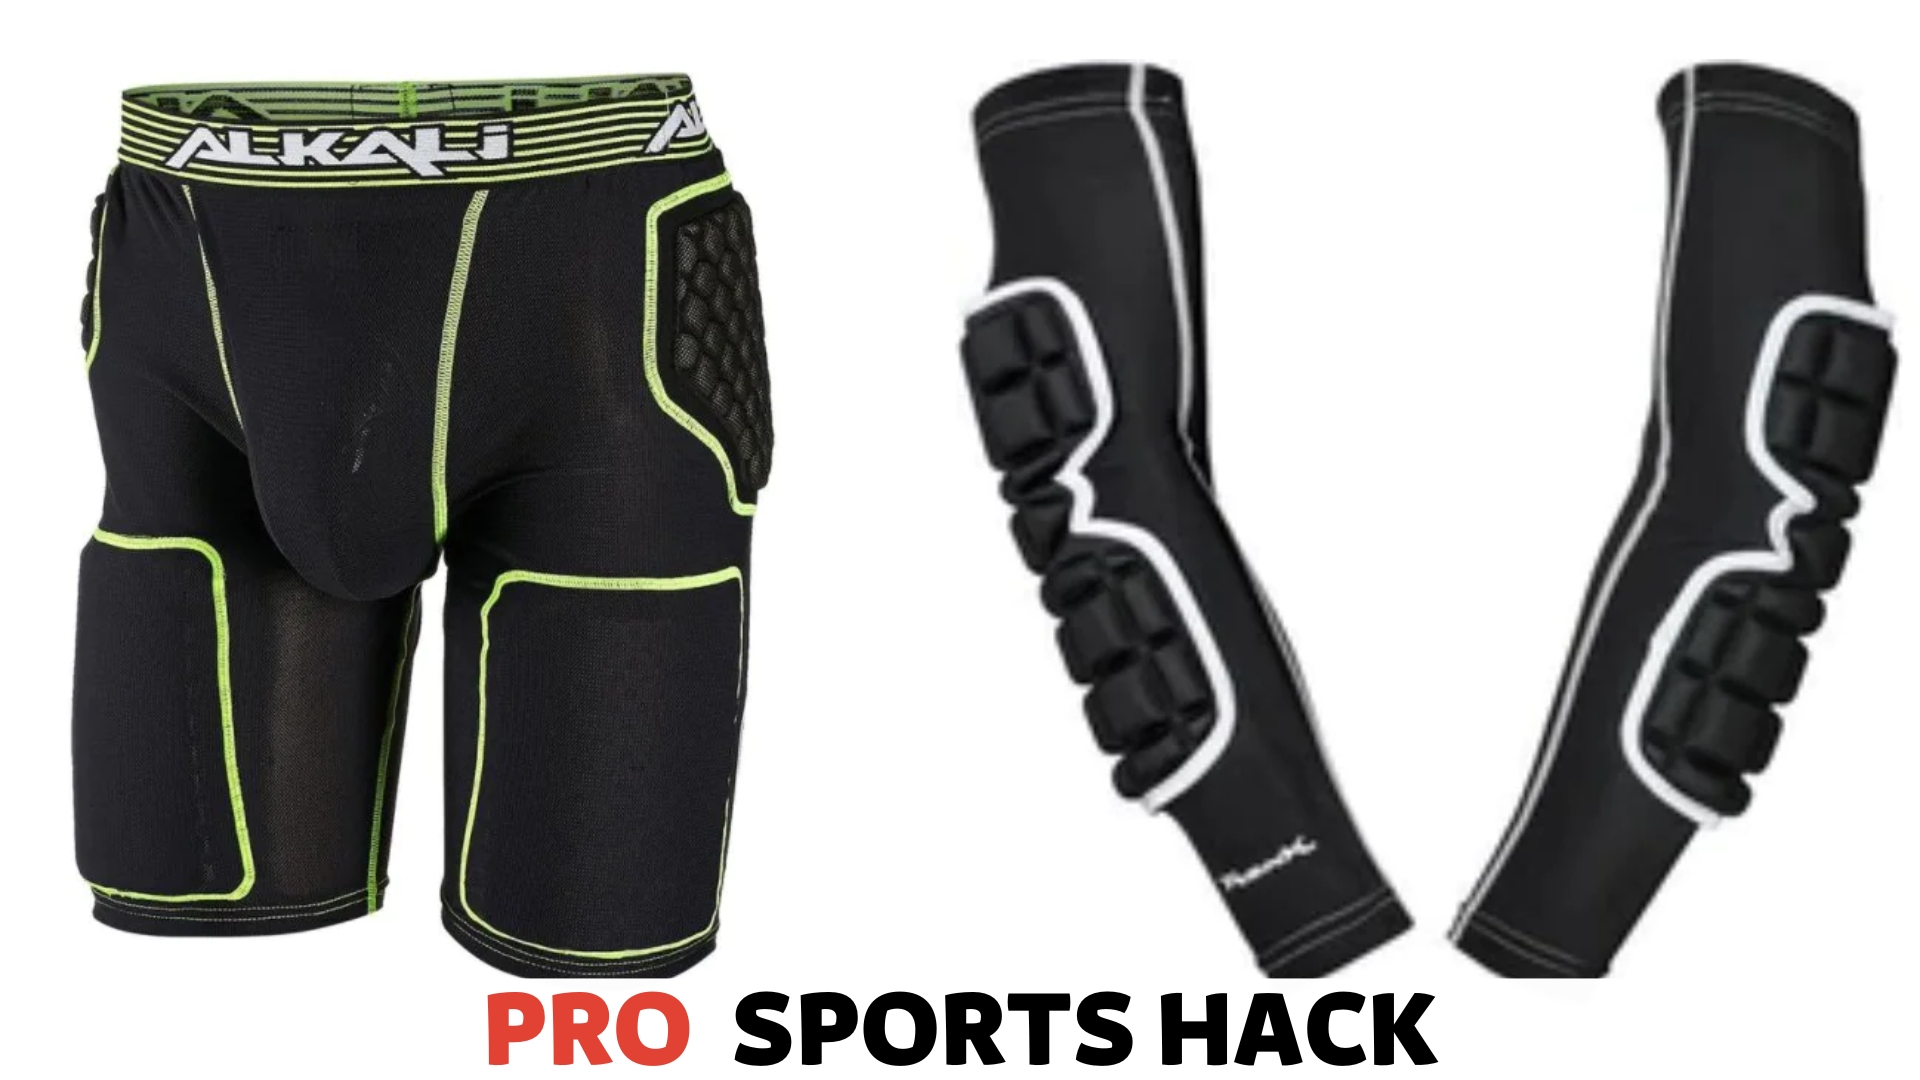
- Identify the items that provide protection, such as shoulder pads, elbow pads, and shin guards.
- Group these protective gear items together in one place.
- Identify the clothing items, including jerseys, socks, and undergarments.
- Place the clothing items in a separate pile.
Unfasten Straps and Buckles
Once you have separated your protective gear from your clothing, it’s time to unfasten any straps and buckles.
This step ensures that all areas of your gear are exposed to the cleaning process, leaving no hidden dirt or grime.
Here’s a simple guide to unfastening straps and buckles:
- Examine each protective gear item and locate any straps or buckles.
- Carefully undo each strap and unbuckle any buckles.
- If straps are adjustable, take note of their settings before unfastening them.
- Be gentle to avoid damaging the straps or buckles.
Following these steps, you will have your protective gear and clothing items sorted and ready for the pre-wash.
This initial organization will make the cleaning process more efficient and ensure each item receives the attention it needs.
Remember, sorting your hockey gear for pre-wash involves separating protective gear from clothing and unfastening straps and buckles.
By adhering to these steps, you’ll be on your way to properly cleaning your gear and maintaining its longevity.
In the next section, we will dive into the pre-wash process, guiding you through the steps to prepare your gear for a thorough cleaning.
Filling the Bathtub With Water and Detergent
When cleaning your hockey gear, washing them in the bathtub can be an effective and budget-friendly solution. Filling the bathtub with water and detergent is the first step to thoroughly cleaning and deodorizing your hockey gear.
Follow these steps to get started.
Submerging Gear in Soapy Water
Once the bathtub is filled with lukewarm water, it’s time to add the detergent. A gentle, odor-fighting detergent designed for sports gear can help break down the sweat and odor trapped in the fabric.
Submerge your hockey gear in the soapy water, ensuring all pieces are fully covered. Allow the gear to soak for a few minutes to help loosen dirt and grime.
Agitating and Soaking Gear
After submerging the gear, gently agitate the water to ensure that the detergent reaches all areas of the fabric. Agitating the gear helps to release any trapped dirt and sweat.
Let the gear soak for at least 30 minutes to break down and remove stubborn odors thoroughly. You can agitate the water periodically during this time for more effective cleaning.
Thorough Rinsing of Gear
Thoroughly rinse your hockey gear in the bathtub to ensure a deep clean. This simple technique helps remove sweat, odors, and bacteria, leaving your gear fresh and ready for the next game.
Removing Soap Residue
After washing your hockey gear in the bathtub, it’s crucial to rinse off any remaining soap residue thoroughly. Soap residue can leave an unpleasant smell and irritate your skin during gameplay.
To ensure your gear is clean and ready for action, follow these steps to remove soap residue effectively:
- Fill the bathtub with clean, warm water until it reaches a suitable height to submerge your gear.
- One by one, agitate each piece of equipment by gently swishing it in the water. This action will help dislodge any lingering soap residue.
- After agitating each piece, let it soak in the water for a few minutes to allow the soap residue to loosen further.
- Scrub the gear gently using your hands or a soft brush to remove any stubborn residue. Pay close attention to areas that may accumulate more soap, such as the inner linings or velcro straps.
- Once you have thoroughly scrubbed each piece of equipment, drain the soapy water from the bathtub.
- Refill the bathtub with clean, warm water to rinse off the gear.
- Repeat the agitation process, ensuring each piece is submerged and swished in clean water. This step helps to dislodge any remaining soap residue that may have been missed.
- Drain the water from the bathtub and inspect each item for any remaining soap residue. If you notice any, rinse the gear under a running tap while gently rubbing off the residue with your hands or a cloth.
Drying Gear Properly
Once you have successfully rinsed off all the soap residue from your hockey gear, it’s time to focus on drying it properly. Proper drying is essential to prevent the growth of unpleasant odors and mildew formation.
Follow these steps to ensure your gear dries efficiently:
- Start by gently squeezing out any excess water from each piece of equipment. This action will help speed up drying and prevent the gear from becoming excessively heavy.
- Place the gear in a well-ventilated area, allowing air to circulate freely. It’s crucial to avoid direct sunlight as it can cause damage to certain materials.
- If possible, use a drying rack to hang the gear. Hanging the gear allows air to circulate freely, preventing moisture from being trapped.
- Avoid hanging the gear in the basement or any damp area, as this can slow the drying process and increase the risk of mold growth.
- Regularly check the progress of the drying process. Rotate and rearrange the gear if necessary to ensure all sides are exposed to air evenly.
- Depending on the humidity and ventilation in your space, drying can take several hours to a couple of days. Be patient and give the gear enough time to dry completely.
By following these steps and thoroughly rinsing and drying your hockey gear, you’ll effectively remove soap residue, eliminate unpleasant odors, and ensure your gear stays in optimal condition for your next game.
Remember, clean and properly maintained gear not only enhances your performance but also prolongs the lifespan of your equipment.
Refreshing Your Gear
Refreshing your hockey gear is essential to maintain its quality and prolong lifespan. It involves using effective odor neutralizers and storing the gear properly.
Following these steps will keep your equipment clean and fresh for the next game.
Using Odor Neutralizers
To eliminate odors from your hockey gear, it is important to use odor-neutralizers. A simple homemade solution can be made by combining equal parts of water and white vinegar and then spraying it onto the gear.
Alternatively, you can purchase specialized sports gear deodorizers that combat tough odors. Apply the neutralizer liberally and thoroughly dry the gear before use to prevent residual odors.
Storing Gear Properly
Proper storage prevents moisture buildup and mold growth within your hockey gear. After washing, air-dry the gear completely in a well-ventilated area.
Avoid storing damp gear in enclosed spaces, as this can promote the growth of bacteria and mold. Consider using a gear drying rack to efficiently air out equipment, preventing any lingering odors and extending its usability.
Conclusion
Washing hockey gear in the bathtub is an effective and convenient way to keep your equipment clean and fresh.
Following the steps outlined in this post, you can ensure that your gear remains in great condition and free from unpleasant odors.
With regular maintenance, you’ll be able to focus on your game and perform at your best without distractions.


![Cat in the Chrysalis Spoiler: All You Need To Know [Updated] Cat in the Chrysalis Spoiler](https://prosportshack.com/wp-content/uploads/2024/02/Cat-in-the-Chrysalis-Spoiler-100x75.jpg)


