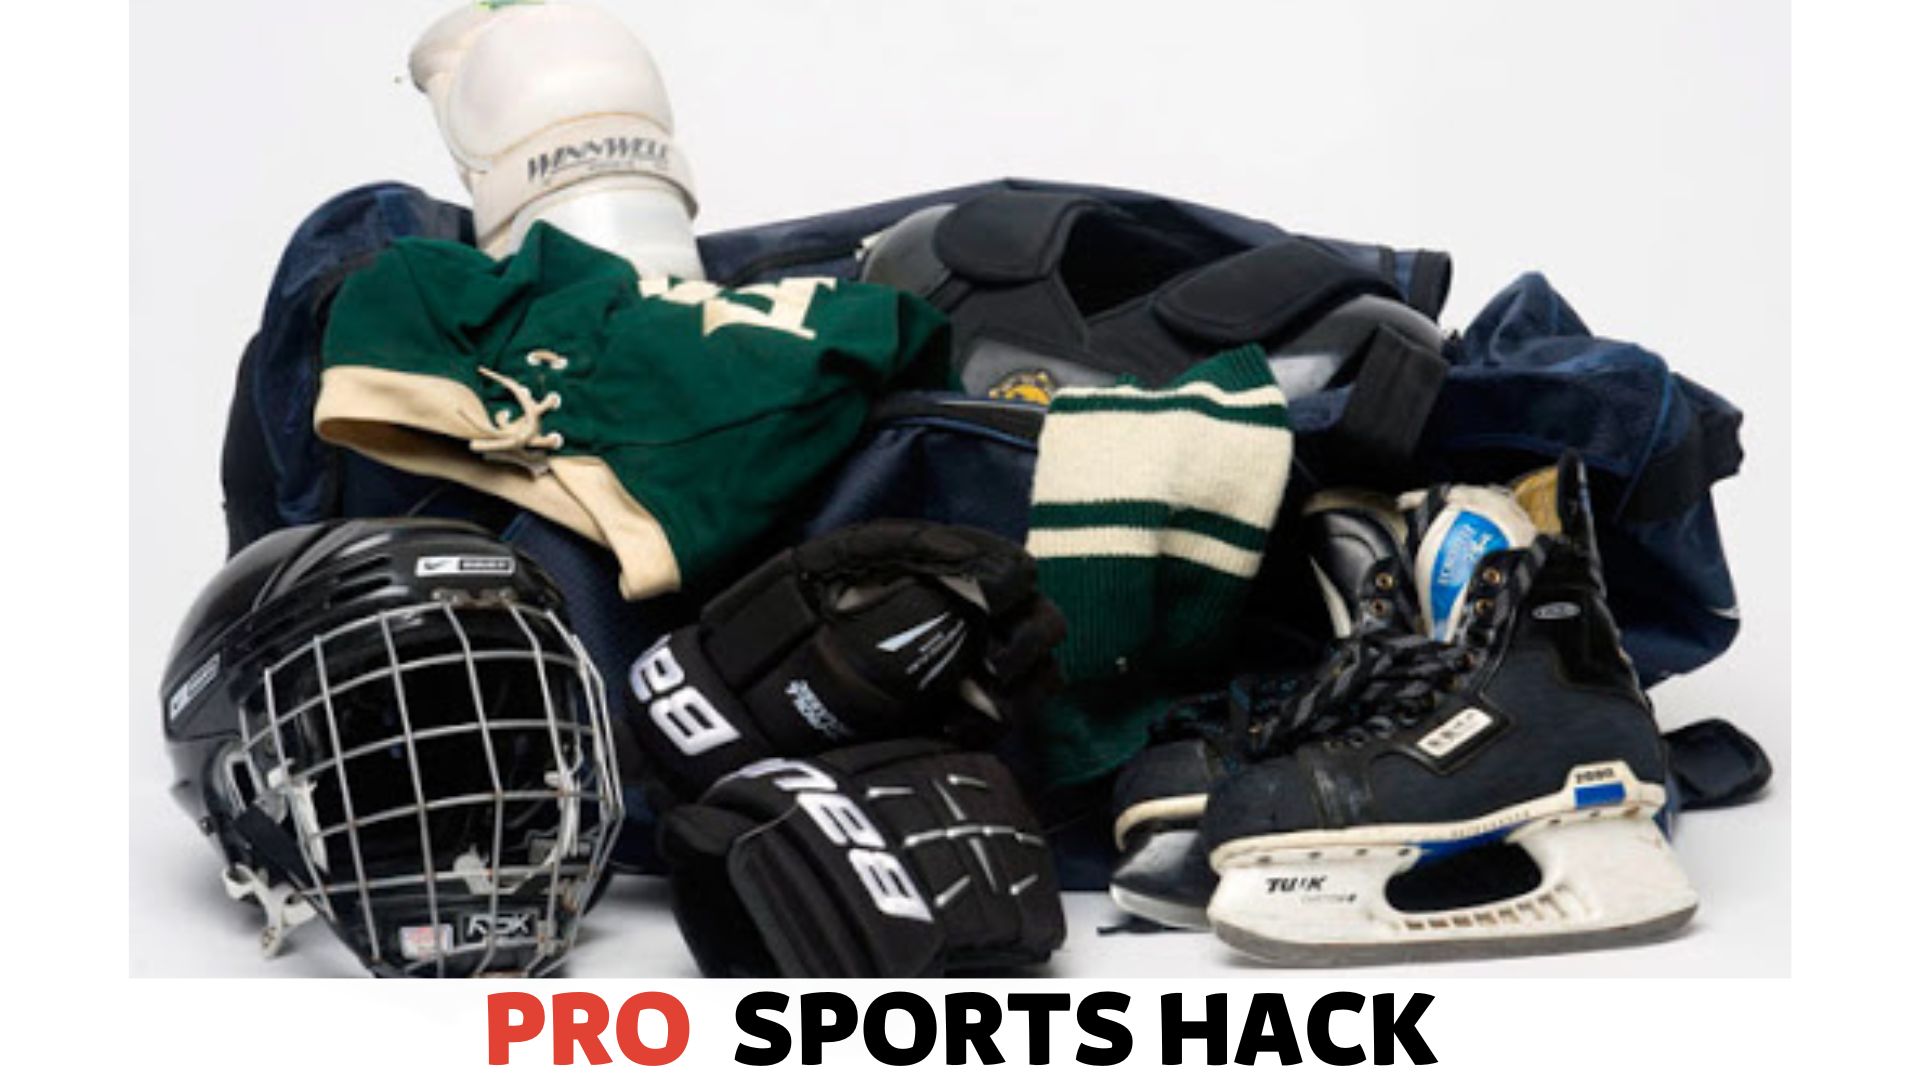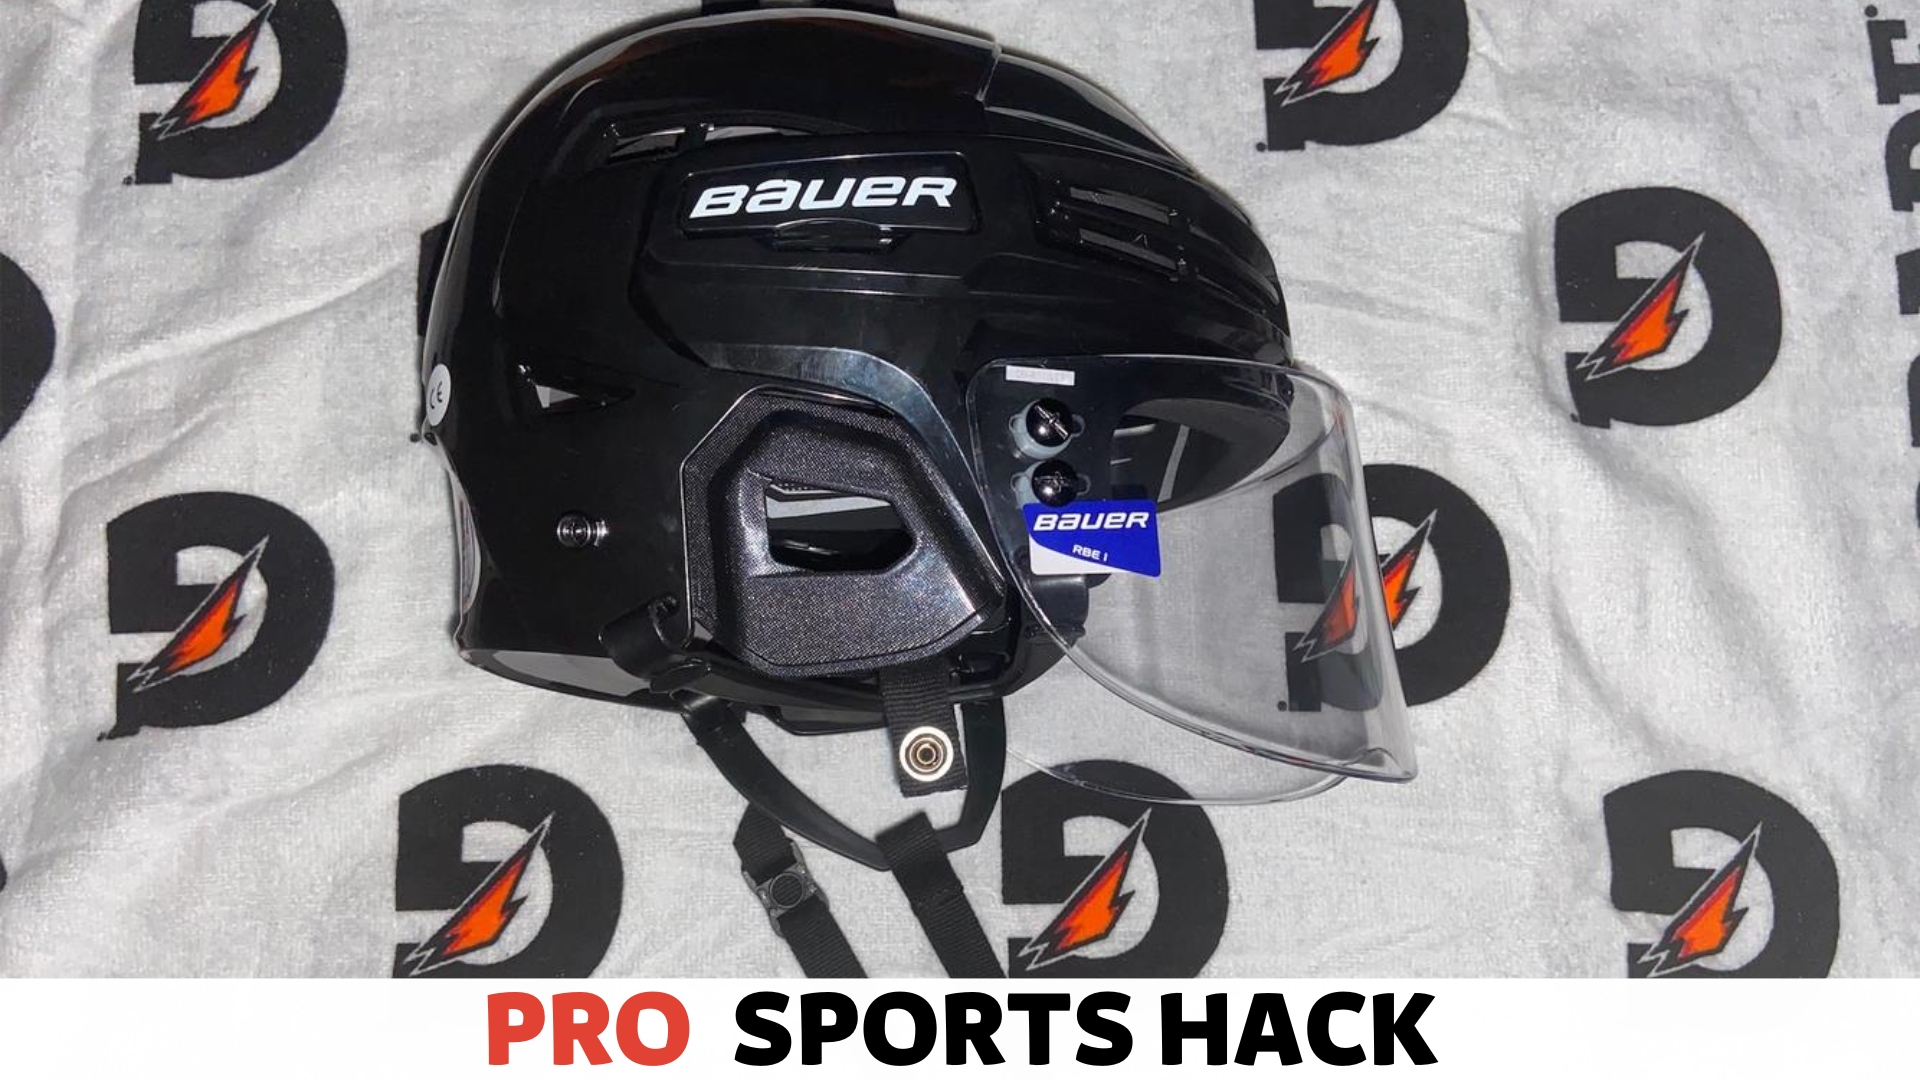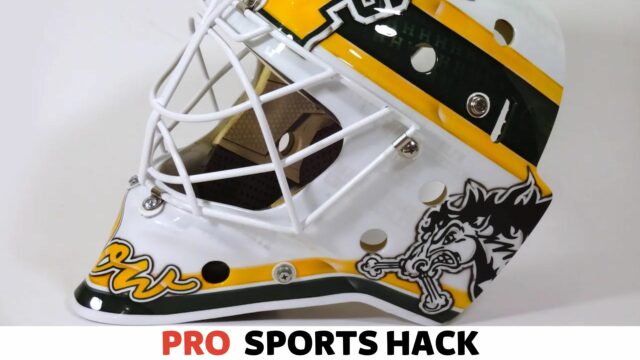
To clean a hockey helmet, remove the padding and straps, wash the shell in warm, soapy water, and let it air dry. Hockey players know that their gear can become smelly and dirty with regular use, and their helmets are no exception.
Helmets can collect sweat, dirt, and bacteria, creating a less-than-pleasant odor. It’s important to clean a hockey helmet regularly to keep it smelling fresh and prevent bacteria buildup that can cause skin irritation or infection.
In this article, we will go over the steps necessary to clean a hockey helmet, including how to disassemble it, what products to use, and best practices for keeping it clean.
When discussing hockey equipment, many wonder, “Do hockey refs wear pads?” to protect themselves during intense games.
These tips will help extend your helmet’s life and keep you comfortable and confident on the ice.
Preparing for Cleaning: Gathering Materials and Equipment for Effective Hockey Helmet Maintenance
Hockey helmets are essential equipment that protects players from head injuries and other potential hazards. Over time, these helmets accumulate sweat, dirt, and bacteria that require proper cleaning for hygiene and longevity. You will need certain materials and equipment to get the job done right.
Here are the things you should gather before you begin cleaning your hockey helmet:
- Warm Water and Mild Soap
You will need warm water and mild soap to clean the helmet’s shell, chin strap, and cage. A mild soap helps to prevent tarnishing or rusting of the helmet’s metal surfaces.
- Soft Cloth
A soft, non-abrasive cloth helps to avoid scratching or damaging the helmet’s surface when cleaning it.
- Sponge or Brush
For this step, use a sponge or soft brush to scrub off the dirt and grime that accumulated around the helmet. You can also use a toothbrush to get into tight spaces.
- Disinfectant Spray
After cleaning, a disinfectant spray helps kill any germs or bacteria on the helmet.
- Deodorizing Spray
You can use a deodorizing spray to get rid of any foul smell that may be emanating from the helmet.
- Clean Towel
Use a clean towel to dry off the helmet thoroughly after washing.
- Helmet Cleaner
A helmet cleaner works like mild soap but helps remove scars or scratches from the helmet surface.
- Lemon Juice or Vinegar
Lemon juice or vinegar is an excellent solution for removing stubborn stains on the helmet’s surface or cage.
Following these materials and equipment standard guidelines for hockey helmet cleaning can help you easily take good care of your helmet, adding value to its longevity and helping you maintain your hygiene!
Removing Removable Parts: Safely Disassembling Your Hockey Helmet for Effective Cleaning
While it may seem intimidating initially, disassembling your hockey helmet for cleaning is easier than you might think. This section will guide you through safely removing your helmet to ensure effective cleaning.
Step 1: Remove the Visor or Shield
- Use a screwdriver to loosen any screws holding the visor or shield in place.
- Carefully remove it from the helmet, mindful of any delicate parts that could break.
- Depending on the brand, the visor or shield may be attached to the helmet with clips instead of screws. In this case, gently pull the clips out to remove the visor or shield.
Step 2: Remove the Chin Strap
- Unclip the chin strap from each side of the helmet.
- Gently pull it away from the helmet’s shell.
- If the chin strap is tightly attached, use a flat-head screwdriver to pry it loose.
Step 3: Remove the Helmet Padding
- Check for any snaps or hooks holding the padding in place before trying to remove it.
- Gently pull on the padding to see if it comes loose.
- If it doesn’t, double-check for any hidden snaps or hooks.
- Once all the snaps or hooks are undone, you can remove the padding from the helmet.
Step 4: Clean the Helmet Parts Separately
- After you’ve removed all the individual parts, wipe them down one by one with a soft cloth.
- For tough stains or odors, use a cleaning solution specifically designed for helmet cleaning.
- Follow the instructions on the cleaner’s label, taking care not to use any abrasive or harsh chemicals that could damage your helmet.
- Dry each part completely before reassembling the helmet.
By removing each piece separately, you can thoroughly clean your helmet, making it safer and more comfortable. Always check the helmet manufacturer’s instructions for safe disassembly and cleaning guidelines.
To ensure thorough cleaning, it’s important to know how to take ear guards off a hockey helmet without damaging them.
Cleaning the Helmet Shell: Step-By-Step Guide to Effectively Clean and Maintain Your Hockey Helmet Shell
Your hockey helmet shell is exposed to sweat, dirt, and bacteria. That’s why keeping it clean and maintaining it regularly is crucial. Here’s a step-by-step guide on how to do it properly:
1. Remove All Removable Parts
Before cleaning, remove the cage, padding, and any other removable parts. This will make it easier to clean the shell thoroughly.
2. Wipe the Shell With a Clean Cloth
Use a clean cloth or sponge and warm soapy water to wipe down the inside and outside of the shell. Avoid using harsh chemicals as they may damage the shell’s material.
3. Scrub Away Tough Stains
For tough stains, use a mild abrasive like baking soda or toothpaste. Apply the abrasive to the stain and scrub gently with a soft cloth.
4. Rinse With Clean Water
Rinse the shell with clean water to remove any remaining soap and dirt.
5. Dry the Helmet
Dry the helmet using a clean towel, or leave it to air-dry. Make sure it’s completely dry before putting it back together.
6. Reassemble the Helmet
Once your helmet is clean and dry, reassemble it by restoring all the removable parts, including the cage and padding.
7. Inspect and Maintain Regularly
Always inspect your helmet before and after every game. Check for any damages or cracks, and make sure the cage is securely attached. It’s also good to wipe down the shell after every game to prevent bacteria buildup.
By following these simple steps, you can maintain your hockey helmet shell’s lifespan and ensure it provides maximum protection. Keep your helmet clean, maintain it regularly, and stay safe on the ice!
Cleaning the Removable Parts: How to Clean And Maintain the Components of Your Hockey Helmet Properly
Keeping your hockey helmet clean is essential to maintain its lifespan and safety. Although the outer shell may require attention, cleaning and maintaining removable parts such as the cage, padding, and liner are equally necessary.
Here are some useful tips for cleaning and maintaining your hockey helmet’s critical components.
Cage Cleaning
Cleaning the cage is an essential part of maintaining your helmet. If left unattended, dirt and sweat can accumulate on the surface, reducing visibility. Here are some tips for properly cleaning your helmet’s cage:
- Remove the cage from the helmet and place it in a sink or bucket of warm water.
- Add a mild soap or detergent and let the cage soak for about 30 minutes.
- Use a soft-bristled brush to scrub the surface of the cage gently.
- Rinse the cage with warm water and let it air dry.
Padding Cleaning
The padding inside your helmet is often exposed to moisture, sweat, and dirt. Therefore, it’s crucial to clean the padding regularly. Here are some tips for properly cleaning the padding of your hockey helmet:
- Remove the padding from the helmet.
- Soak the padding in warm water and add mild soap or detergent.
- Gently rub the padding with a soft-bristled brush, ensuring the dirt and sweat come off.
- Use a clean, damp cloth to rinse the padding of any soap residue.
Liner Cleaning
The helmet liner helps to protect the head by absorbing the impact of any blow. Cleaning the liner is essential for maintaining the quality of protection. Here are some tips for cleaning the liner:
- Before cleaning the liner, ensure to remove any padding or cage.
- Place the liner in a large container, add some mild detergent or soap, and fill it with warm water.
- Allow the liner to soak for about an hour.
- Gently scrub the liner with a soft-bristled brush.
- Rinse the liner with water and let it air dry.
Remember, after cleaning the helmet’s components, allow them to dry completely. Use a clean and dry cloth or tissue to wipe any remaining moisture. Proper cleaning and maintenance of the removable parts of your hockey helmet is essential for your safety as a player.
Follow these tips regularly for a clean and well-maintained hockey helmet that provides the maximum protection you require.
A well-fitted glove is essential for any hockey goalie. Learn how to break in a hockey goalie glove to achieve maximum comfort and performance.
Dealing With Odors: Eliminating Unpleasant Smells From Your Hockey Helmet
As a hockey player, you fully know how important keeping your gear in good condition is. Not only does it prolong the life of your equipment, but it also keeps your gear sanitary and odor-free. Your hockey helmet is one particular piece of gear prone to developing unpleasant smells.
Helmets can become a hotbed for bacteria, sweat, and other unpleasant odors. This section will discuss how to eliminate unpleasant smells from your hockey helmet.
The Causes of Unpleasant Smells
Before we delve into ways of eliminating your helmet’s unpleasant smells, it’s important to understand the causes of these odors. The following are some of the reasons why your helmet may produce an unpleasant smell:
- Bacteria: The sweat that builds up inside your helmet creates a breeding ground for bacteria, which produce bad smells.
- Mold: If your helmet stays damp for too long, it can develop mold, which creates another bad odor.
- Sweat: If your helmet does not have adequate ventilation, sweat can build up and produce a unique odor, especially if it is not frequently washed.
How to Wash the Helmet
One of the most effective ways to eliminate odors from your hockey helmet is to wash it regularly. By cleaning your helmet, you remove the bacteria that produce unpleasant odors. To wash your helmet, follow these steps:
- First, remove detachable parts, such as the visor or chin strap.
- Next, fill a bucket with warm water and add a mild detergent solution – do not use bleach or strong chemicals.
- Soak your helmet for 20-30 minutes in the solution.
- Using a soft-bristled brush, gently scrub the helmet’s exterior and interior.
- Rinse the helmet thoroughly, making sure to remove any soap residue.
- Leave the helmet to air dry in a well-ventilated area, away from direct sunlight.
Using Deodorizers
Another effective way of eliminating unpleasant smells from your hockey helmet is by using deodorizers. Here are some tips for selecting and using deodorizers:
- Baking soda: Baking soda is a natural odor eliminator. After washing your helmet, sprinkle a small amount of baking soda inside the helmet and leave it overnight. In the morning, shake out the excess powder before wearing your helmet.
- Charcoal bags: Charcoal bags absorb moisture and odors. Place a small bag inside your helmet and leave it overnight.
- Odor-eliminating sprays: There are several odor-eliminating sprays. Choose a spray made for helmets and lightly mist the inside of your helmet before using it.
Preventing Unpleasant Smells
Prevention is always better than cure, so here are some tips to keep your helmet from developing unpleasant odors:
- Keep your helmet dry: After use, remove any moisture from your helmet and let it air dry.
- Wash your gear frequently: Regular cleaning of your hockey gear prevents bacteria buildup and reduces the possibility of odor development.
- Avoid sharing your helmet: Sharing helmets can transfer bacteria and sweat from the previous user.
- Invest in a helmet with good ventilation: Adequate ventilation prevents sweat buildup and ensures the helmet dries quickly.
By following these tips, you can keep your helmet odor-free and in good condition, ensuring you stay fresh and comfortable on the ice.
Reassembling the Helmet: Putting the Pieces Back Together for a Safe Fit
Now that you’ve successfully cleaned all the components of your hockey helmet, it’s time to put everything back together again. However, you must do this to ensure the helmet fits properly and offers maximum protection.
Here are some key points to keep in mind:
- Start by reassembling the padding and other small pieces, ensuring they fit together snugly without gaps or loose spots.
- Once those pieces are in place, carefully put the helmet’s protective shell back together, ensuring the screws or bolts are firmly in place.
- If your helmet has a cage or visor, reattach those components now.
- Once the helmet is fully reassembled, try it on to ensure it fits properly and comfortably. Adjust the straps and padding to achieve a safe and secure fit.
Remember that a properly cleaned and maintained hockey helmet can help protect you from serious injuries on the ice. Following these steps to disassemble and reassemble your helmet will ensure you can clean it effectively and, most importantly, put it back together to keep you safe while playing the game you love.
Regular Maintenance and Storage Tips for Keeping Your Hockey Helmet Clean and Well-Maintained
Hockey is an intense sport, and when players hit the ice, they need to be fully kitted out with the right gear, including their helmets. The helmet is the most crucial piece of protective equipment, and it must be clean and well-maintained, so it can do its job in keeping players safe.
Below are some tips for conducting regular maintenance and storing your helmet correctly.
Regular Maintenance Tips
Taking care of your hockey helmet is crucial to its durability and overall performance. Here are some essential maintenance tips to help keep your helmet in excellent condition:
- Clean after use: Always wipe your helmet immediately with a soft cloth or towel.
- Please don’t use harsh chemicals: Avoid using harsh chemicals for cleaning your helmet, as they can cause damage. Instead, stick to mild soap and water for a gentle clean.
- Pay attention to the chin strap: Check the chin strap for any wear and tear regularly. Replace it if needed, as it is an important safety feature.
- Inspect the helmet for damage: Always inspect the helmet for cracks, dents, or any other damage. If you notice any problems, replace the helmet.
Storage Tips
Proper helmet storage is essential to keep it in good condition and prevent damage. Follow these tips for storing your helmet:
- Clean before storage: Ensure your helmet is clean before storing it away, as dirt and grime can cause damage over time.
- Store it in a cool, dry place: Avoid storing your helmet in extreme temperatures or direct sunlight. Find a cool, dry place to keep it.
- Use a helmet bag: A helmet bag is an excellent investment to protect your helmet from scratches and other damage.
By following these maintenance and storage tips, you can ensure that your hockey helmet is always in top-notch condition and can provide optimal protection during gameplay. Remember, your safety is paramount, and taking good care of your helmet is crucial to playing the game for years to come.
Frequently Asked Questions
How Often Should You Clean Your Hockey Helmet?
Your hockey helmet should be cleaned after every game and practice session. Sweat, dirt, and bacteria can accumulate inside the helmet, leading to unpleasant odors and possible infections.
What Do You Need to Clean Your Hockey Helmet?
You will need a soft cloth or sponge, mild soap, warm water, and a spray bottle to clean your hockey helmet. You can also use a disinfectant spray and deodorizer to eliminate bacteria and odor.
Can You Put Your Hockey Helmet in the Washing Machine?
No, it would be best not to put your hockey helmet in the washing machine, as it can damage the structure and protective padding. It’s best to hand wash your helmet using a soft cloth or sponge, mild soap, and warm water.
How Do You Clean the Chin Strap on a Hockey Helmet?
To clean the chin strap on your hockey helmet, detach it from it and soak it in warm, soapy water for a few minutes. Use a soft brush to gently scrub away any dirt or debris, and rinse thoroughly with clean water.
How Do You Dry Your Hockey Helmet After Cleaning It?
After cleaning your hockey helmet, use a clean towel or cloth to dry the exterior and interior of the helmet gently. Allow it to air dry completely, and never use a hair dryer or place it in direct sunlight, as this could cause damage.
Conclusion
As hockey helmets are exposed to sweat and bacteria, they must be regularly cleaned to maintain their hygiene and longevity. A clean helmet ensures a player’s safety during the game and makes the equipment last longer.
By following the steps mentioned in this article, one can easily clean their hockey helmet at home with the help of household items.
It is important to remember the specific cleaning instructions for different types of helmets and always ensure the helmet is completely dry before using it again.
Cleaning your hockey helmet regularly will prolong its life and help you have a better hockey game experience, with the helmet fitting comfortably on your head without any unpleasant smells.


![Cat in the Chrysalis Spoiler: All You Need To Know [Updated] Cat in the Chrysalis Spoiler](https://prosportshack.com/wp-content/uploads/2024/02/Cat-in-the-Chrysalis-Spoiler-100x75.jpg)


